
Tutorial: Crafting our 4th of July (Re-purposing clothing)
 The 4th of July is just around the corner...literally! If you are like me, you love dressing your kids for the holidays. While I'd love to be able to buy my kids a new outfit for each holiday, it's just not affordable, especially for an outfit to be worn one or two times, then outgrown. Instead, I dress them in regular clothes and accessorize with a cute pair of sleeves made from socks! Our 4th of July sleeves are going to be made from socks purchased on sale at Joann's right after Memorial Day. They were priced at $4.99, but on sale, were 1/2 off, making them $2.50! I am also making SugarPlum a shirt from a onesie I found on clearance at Target earlier this year, for a WHOPPING $1.25! Tell me, WHERE could you buy an entire holiday outfit for $3.75?
In this post, I am going to walk you through 2 different processes. First, I will show you how to re-purpose a pair of knee high socks into a pair of sleeves (they can also be used as leggings) to be worn with a t-shirt. The second process is converting a onesie to a t-shirt!
Making Sleeves
You can typically find inexpensive knee high socks at Target for around $2.50, but you can also spend up to $8 for a pair you REALLY LOVE. The most I've spent is $7 for a 2-pack, which makes each pair $3.50. It's a far cry from the $8-$12 you'd spend on a ready-made pair of leggings or sleeves.
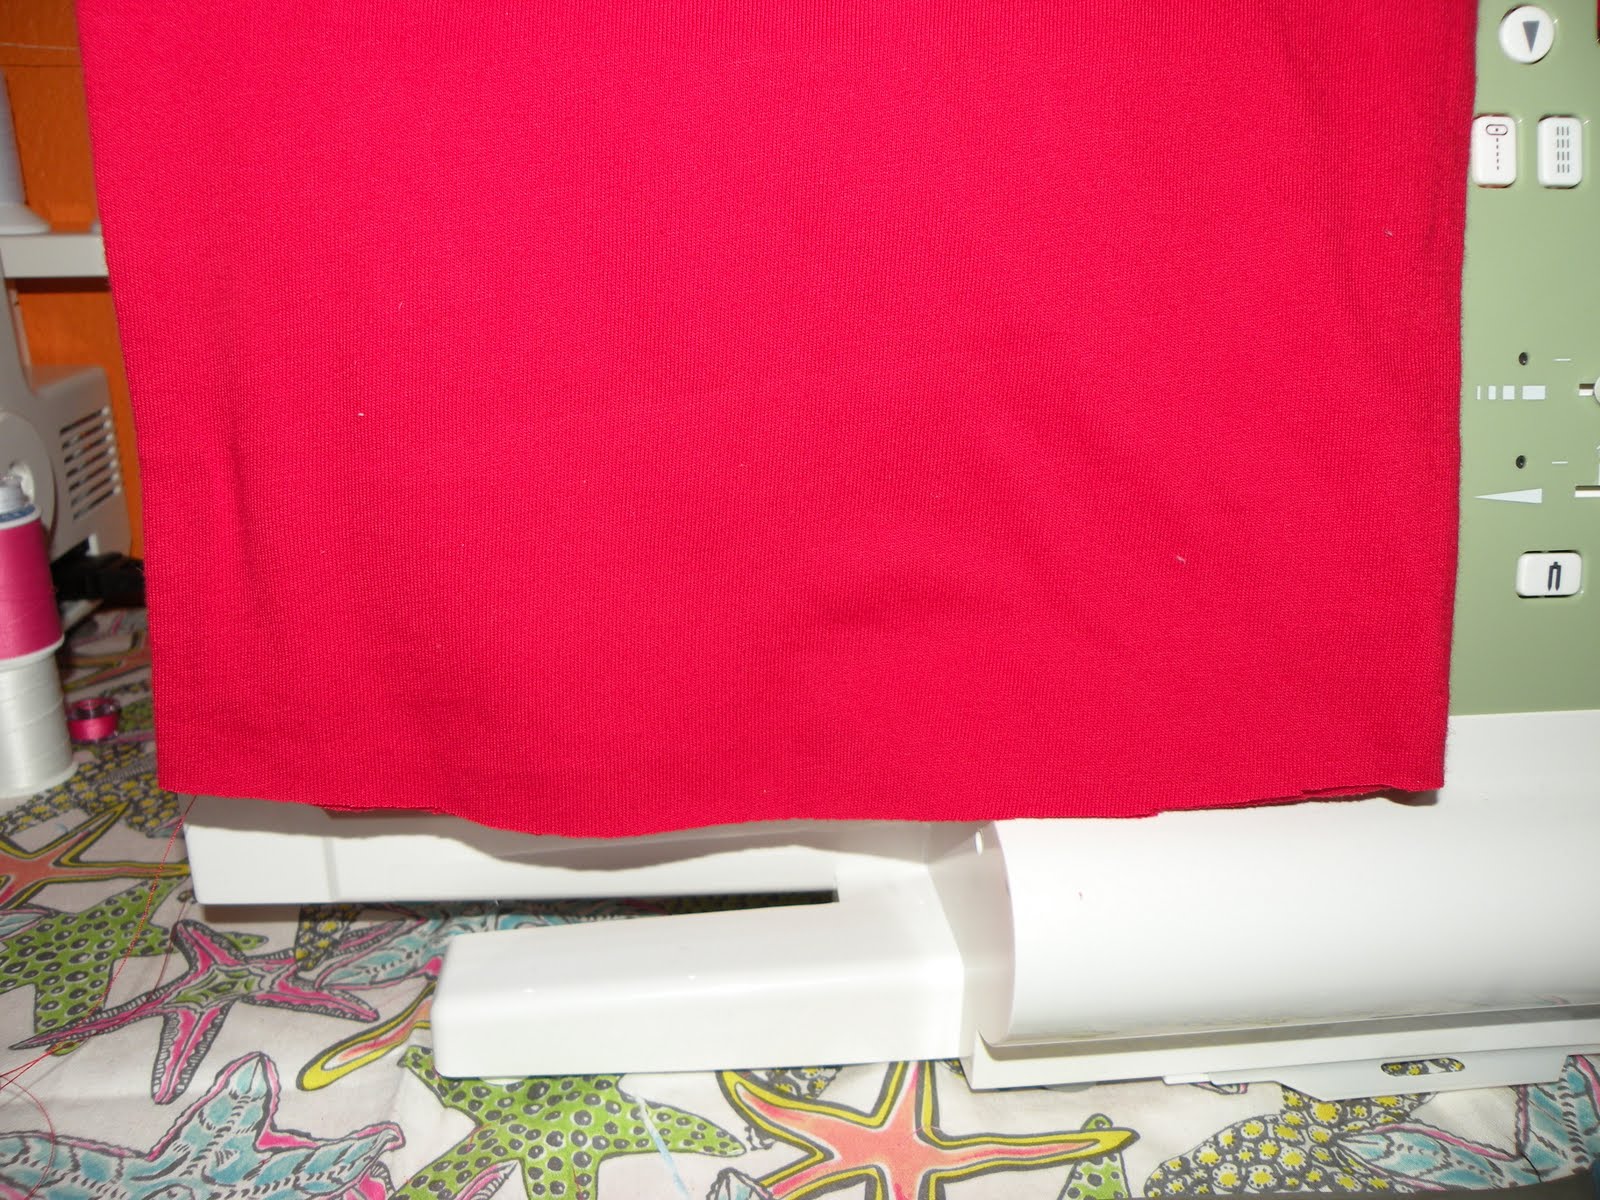
Lay your socks out flat, as they are already pressed.

Cut the toe off, leaving a straight opening. This is easiest when there is a pattern, since you can follow the pattern, as I have done with the stripes on these. Cut the foot off just forward of the heel, keeping it parallel with the first cut you made at the toe. This is the portion you will use for the cuff. Now, cut the heel out, straightening the bottom of the leg of the sock parallel with the top of the sock.

Toss the toe and heel clippings.

Fold one end of the cuff piece inward, matching wrong sides together, so that you can flip it over in either direction and only see the exterior. Match up the raw edges and pin. If there is a pattern, you will want to match it up before you pin, so the pattern continues to flow.

Take the leg of the sock and push through the center of the cuff, from the folded edge first, so that your raw edges are all on the same end. You will now have 3 layers of raw edges. If there is a pattern, make sure you pin it so that when the cuff is folded down, the pattern is still in the appropriate orientation. If it is not, flip the cuff in the other direction before inserting the leg. Pin these 3 raw edges together. As you can see, I have a blue stripe with stars down either side of the sock, so I matched the blue stripes on the cuff to the stripes on the leg of the sock.

Set your machine to zig-zag and zig-zag stitch around the entire ring of the raw edges. I use a medium length and width for my zig-zag stitches. DO NOT STRETCH THE SOCK. If you stretch it, it will end up looking funky...trust me! You are zig-zagging to allow for it to stretch as you put it on, therefore, you do not need to stretch it as you sew.

Once you are done sewing the first one, flip it, check it for pattern consistency one last time, and if you are happy, move on to the second sock. Repeat the above steps for the second sock!


Congratulations! You have just made your own leggings and/or sleeves from a pair of socks!

I've found that I can wear the same sleeves that I make for my kids, and they work perfectly. They are great to keep in my purse, in case it gets chilly in the evening time. I can just toss them on under my t-shirt sleeves!
Onesie to T-shirt Conversion
My husband HATES onesies. He always has. Whenever I leave the house for any length of time, I have to leave him t-shirts for the kids, since he has a strict NO ONESIE policy. Now that my kids are a little bit older, and both potty-trained, I NEED for them to have t-shirts, for easy access to get on the potty independently. My problem with this? I have tons of adorable onesies that still fit my daughter, but I can't put on her because she can't get them on and off by herself when she needs to use the potty. My solution is to cut the bottoms off and sew a hem, converting them to t-shirts.
First, make sure you have the right sewing machine needle! It needs to be ballpoint, and matched to the weight of the fabric. I am using a light to medium weight fabric, so I picked a size that is made for light to medium weight fabric. It doesn't need to be the most expensive needle, trust me...just pick one. You could spend all day shopping for a needle. I buy the cheapest, typically, because they might break, and you are going to end up needing to replace them eventually. More money. So...don't go top-dollar. Unless you are a pro, and NEED to.

Fold your onesie in half, length-wise, so the side seams are matched.

Cut across the bottom, just above the bottom seams, removing the seam or binding, along with the snaps.

You now have a raw edge on the bottom. I allowed mine to keep a slight curve, instead of cutting straight across.
Flip the raw edge upward, on the outside. You can choose how big you want your hem to be. Whatever that number is, double it for how much you are flipping upward. For example, if you want your hem to be 1/4", flip up 1/2" of the bottom fabric. Now, flip the raw edge downward, matching it to the original fold at the bottom.

Pin in place. I twist the pin as I insert it, to avoid pulling or tearing the knit fabric.

Once you've pinned all the way around your hem, set your machine to zig-zag. I use medium lengths and widths for my stitches. Place the raw edge (where it is pinned to the folded edge) on your machine, right in the middle of the presser foot opening. This will allow the zig-zag stitch to go on either size of the edge of the fabric, creating your hem, and securing the raw edge at the same time.

Now that you are done stitching the entire hem, flip the hem down and press it flat with your iron.


Congratulations! You've just converted a onesie into a t-shirt! Pretty simple, eh?

Your last step for BOTH of these tutorials is to find a model and take a photo of your completed outfit!


HOW CUTE IS THAT!?!
If you end up making these, please feel free to let me know in the comments, with a link to your post, or email me photos of your completed items!


6 comments:
OK. You just floored me with your awesomeness. I LOVE that socks are sleeves dealio.
Thanks, Deb! They are one of my favorite things! I wear them, too! SugarPlum is constantly requesting new ones from my stash of socks, so I'm ALWAYS making them! :)
A must-have accessory for long days at the beach this summer, for sure. I will have 3 pairs in my bag all summer long. A lot easier to tote than extra clothes and jackets.
So cute! You're so crafty! Love that you're making use out of something reusable, and that it's so affordable! Have a great Independence Day Weekend!
Thanks, Lori! Happy 4th to you and yours, as well!
AND the shirt is an original design! I gotta give you props on that cute tee! I'm "sew" not crafty like that -
Wow, I am so impressed both with your creativity and mad sewing skills! I don't think I could ever make something like that. Love how it turned out!
Post a Comment